When I last wrote, the Winnebeggo looked a bit like this:
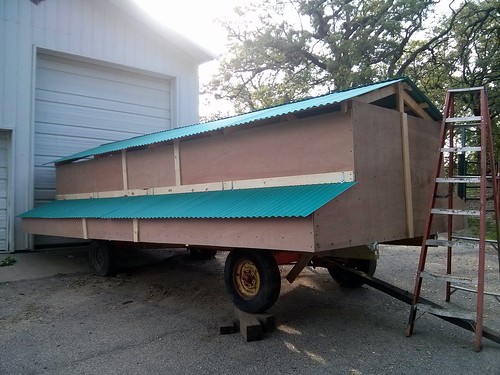
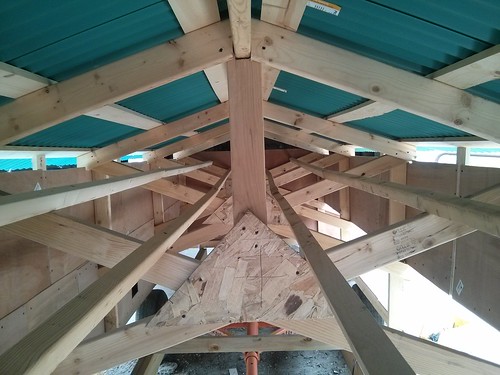
With the sheathing and the roof on, it went fairly quickly from there, but there were a lot of little pieces left to do before the Winnebeggo was chicken-worthy.
Finishing up the roost bars under the roof.
The current roost bars are plenty for our current flock, but as we look to expand our egg-production next year it’s likely that we’ll be adding some more roost bars this winter when the chickens go back to the permanent coop.
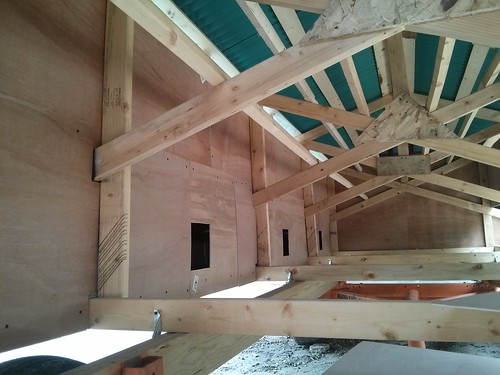
There was the small matter of separating the nest boxes from the rest of the coop.
We’ve decided to give community nest boxes a go, which means that the nest boxes are a big 2’x4′ box that the many chickens can use at once. The theory goes that since the community nest box is kept pretty dark, there should be less egg-eating, something that we’ve had problems with from time-to-time.
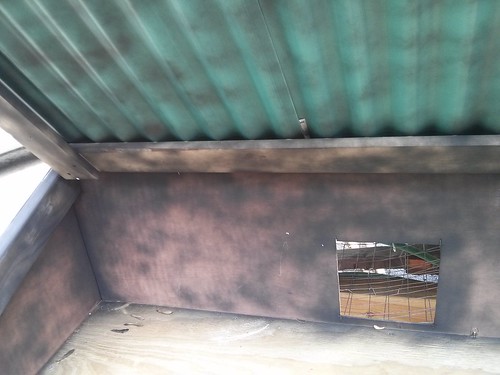
In the interest of keeping things nice and dark, a half-dozen cans of matte black spray-paint were used to tone things in the nest boxes down a bit.
Blaaak.

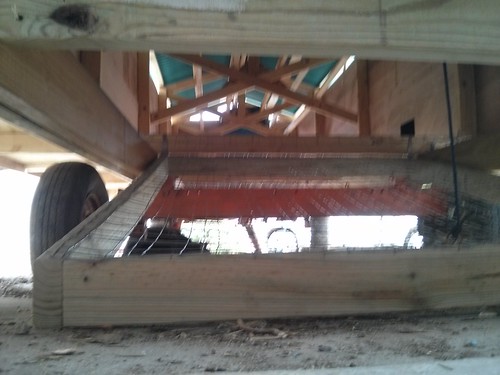
Now it was time to put the floor in, this is where things were about to get difficult.
We’d decided to go with a wire floor. This floor is plenty to support chickens, but it can’t be trusted to support a human.
Why wire you ask?
Because wire does not accumulate poop. Poop falls through wire, down to the ground where it lands as fertilizer. No shoveling or hauling necessary.
Now, stapling some wire down to a few boards isn’t a terribly difficult thing to do. But stapling wire down to some boards without standing on much of anything gets pretty difficult.
We went with 2″x4″ wire for the floor, it’s a bit too big for the chickens to have good footing. But if you were to double it up just so, then it would theoretically leave you with 1″x2″ spacing, which is right on target. Sure, you could special-order a big roll of 1″x1″ mesh, but that would take a while to get in and would cost 2-3x more.
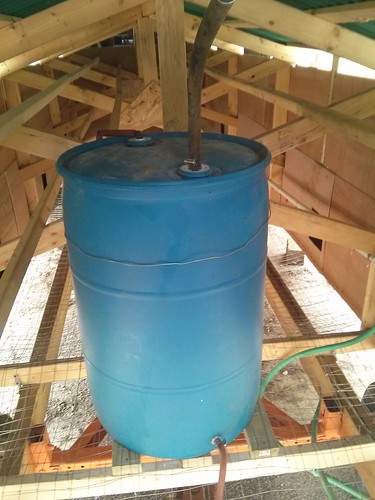
Right before the floor went in, it dawned on me that I needed to put in the water barrel. With the floor in place I have no idea how I would go about getting a 55-gallon barrel into the Winnebeggo.
The barrel got two hoses in the top, black and red. And a single red hose coming out of the bottom.
This way the barrel is inside the coop, but still sealed up where no chicken poop can get into the water.
The black hose going in the top of the barrel is the filler hose.
And a fancy sight-gauge to see how much water the chickens have left.
The little bit of red hose poking down behind the barrel is the overflow hose, if you go past “full” on the sight gauge, the excess water will come out of the overflow hose and onto the ground, keeping the coop dry.
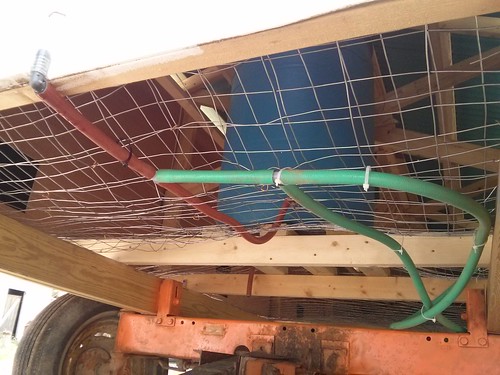
The hose coming out of the bottom of the barrel goes to two tee fittings. One for the sight-gauge, and one for the two green hoses that carry water to two of our pastured chicken waterers.
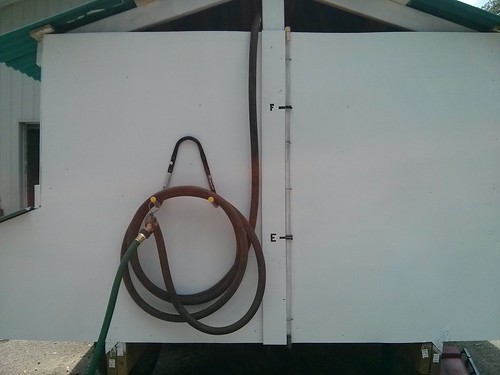
One underneath the Winnebeggo, accessible from the outside.
And another inside, for those days when the chickens need to be cooped up longer.
The big hook under the nest boxes is to hang the usual 40# feeder.
The last five-foot section of the coop floor hinges down to act as a ramp to the world outside.
Again, it’s an all wire floor to promote quick and efficient gravity-assisted excreta removal.
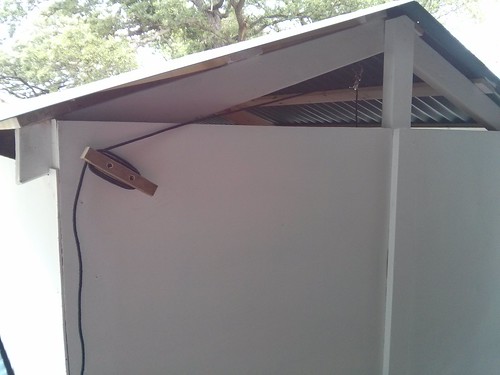
When spring happened and we got busy, the work on the chicken coop controller fell by the wayside. For now we’re using this fancy high-tech rope and pulley.
And cleat; can’t forget the cleat.
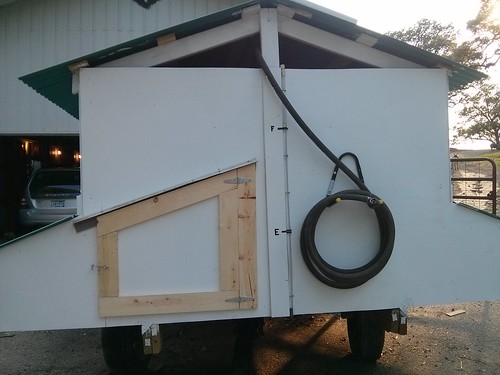
After way too much crawling the length of the coop, trying not to destroy the wire floor, we decided that a door was in order for the other end of the Winnebeggo.
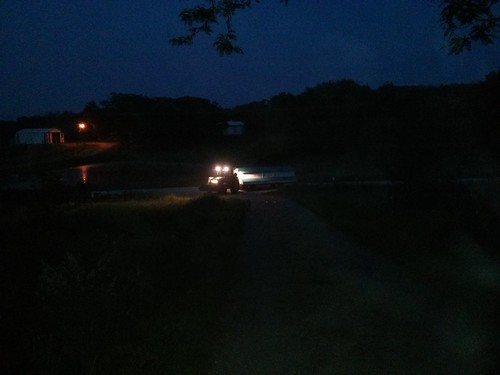
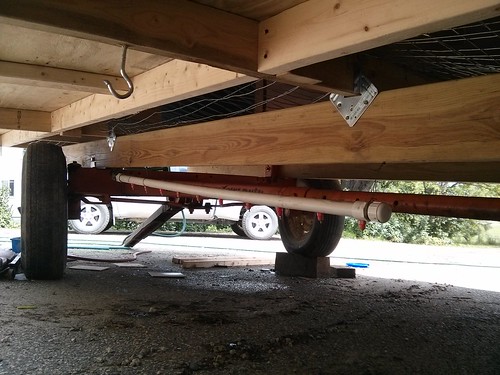
After fixing a couple of the the flat tires, it was finally time for the maiden voyage.
We decided that the only way to get it turned around was to take it down my driveway and turn it around in the road. It’s turning-radius is not exactly small.
It’s pretty awesome to see something that big roll by.
The final dimensions are 10′ wide, 20′ long (not counting the wagon tongue) and about 8′ tall.
Now for the scary part, real-world product testing.
Sweet! Isn’t there a local parade you could have entered? 🙂
When do you apply for the patent??
How many chickens are you aiming at peak? This is quite a structure!
I’m more-or-less guessing, but I think about 250 layers could be housed in the Winebeggo. Time will tell, we’re about to order next years layers!
Yeah, I’m thinking of ordering around 100 to start laying this fall and so I am very interested in your winnebeggo design. We’ve got a customer who wants lots of eggs. It’s a nice problem to have, but I hate having one customer dominate a product. It’s like having all your eggs in one basket.